Detailed Procedure For Thunderbird MBOX Conversion
See the complete process of conversion via advance and effective tool. The software simply converts all Thunderbird emails with attachments embedded in email file like images, text, PDF etc with perfection. Follow the simple and proper screenshots to know how to convert emails from Thunderbird to Outlook with ease.
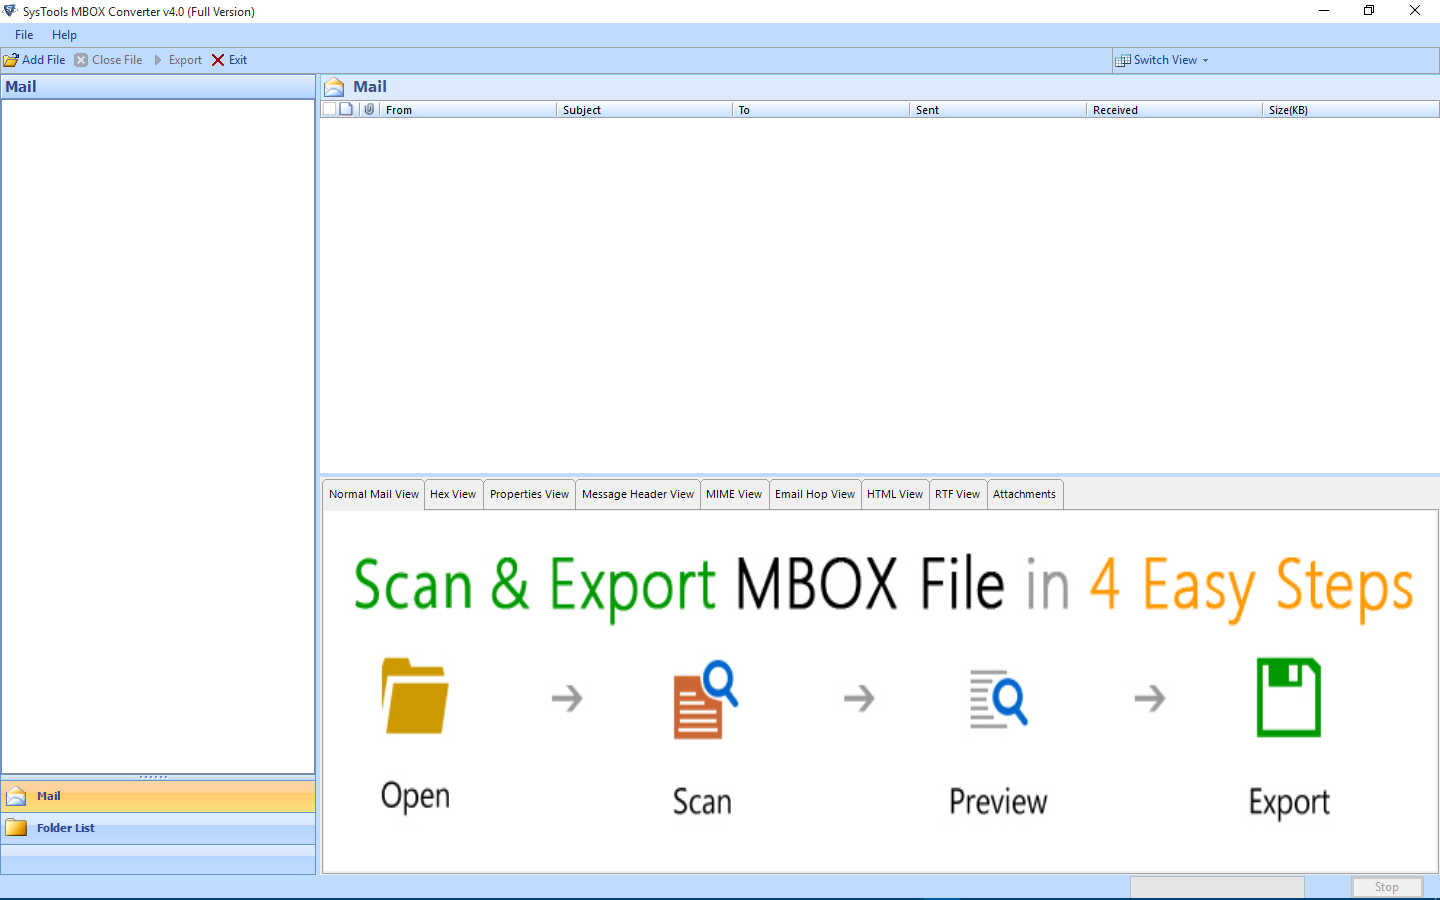
Step 1
To initiate the process, first go to Start Menu » Search SysTools MBOX Converter. Now, select and launch the software
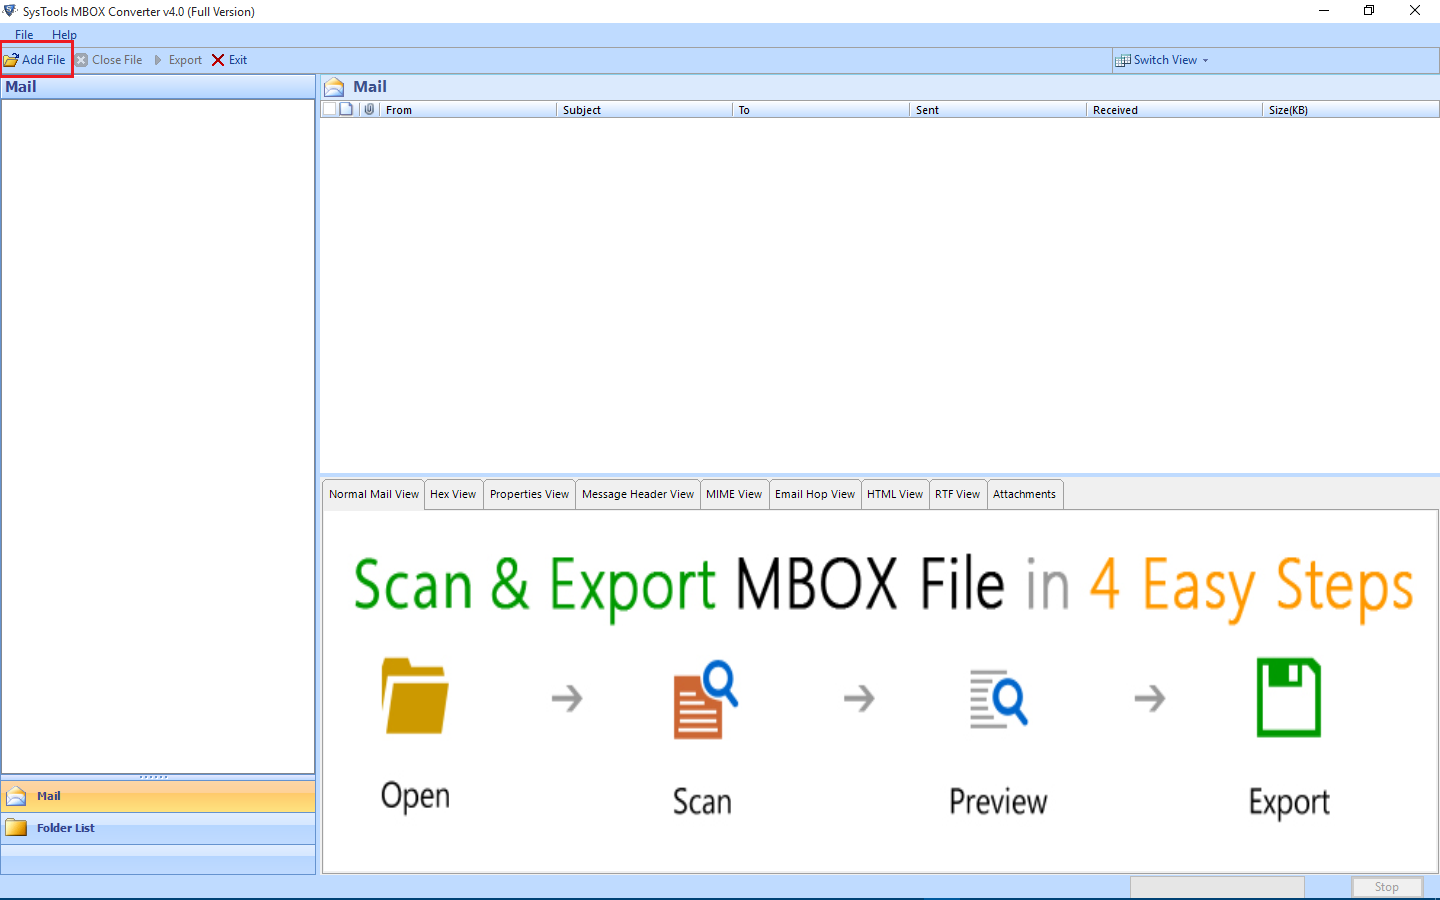
Step 2
Add File: Click on this button to add .mbox file(s) into the tool's interface
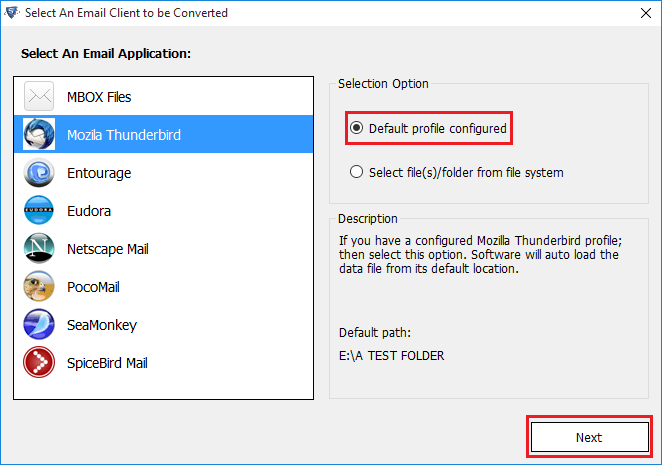
Step 3
Now, the tool will display a list of email clients on the left panel & two selection options on the right panel:
- Default Profile Configured:This option enables the tool to fetch data automatically from configured Thunderbird's default location
- Select File(s)/Folder from File System:Enables users to add the MBOX files manually from any desired location
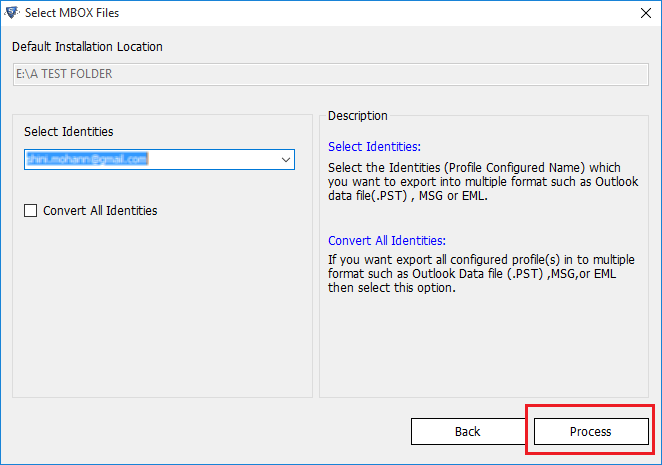
Step 4
Select the configured Identity and click Process to fetch all its associated data automatically
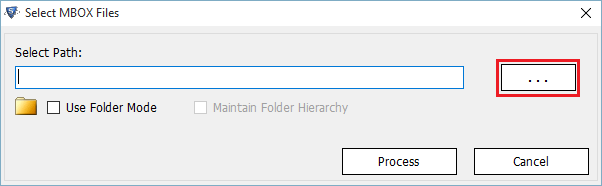
Step 5
Another way to add the Thunderbird MBOX files: Select the "Select File/Folder System" option &to fetch the files from desired location

Step 6
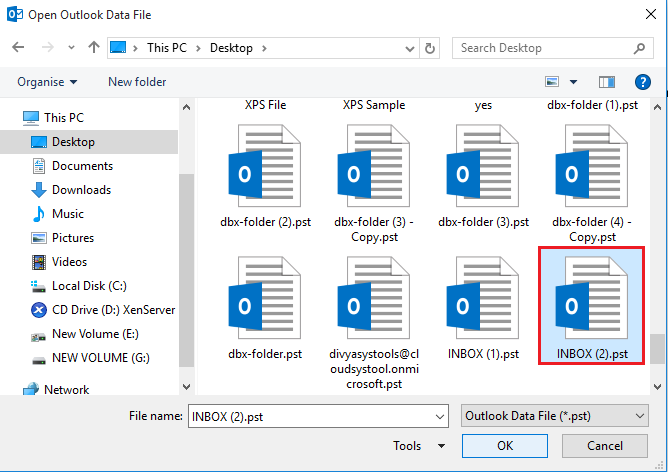
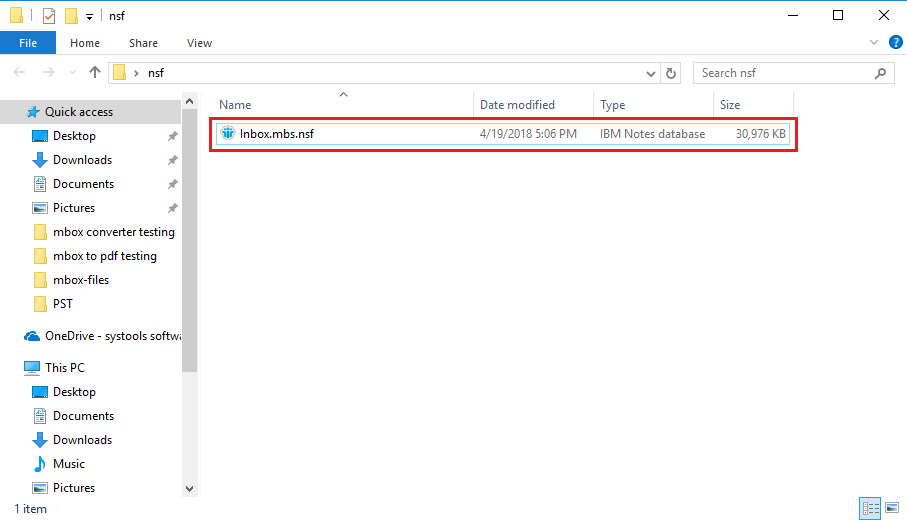
Locatethe MBOX file
Step 7
Click Open
after selecting the desired MBOX file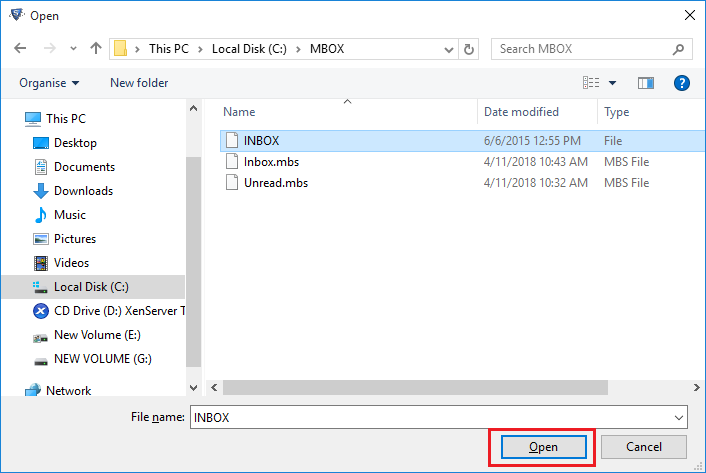
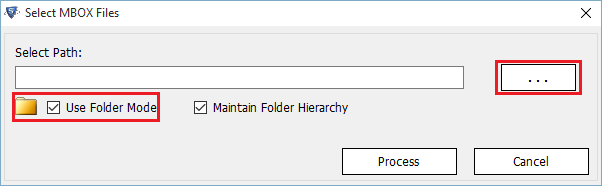
Step 8
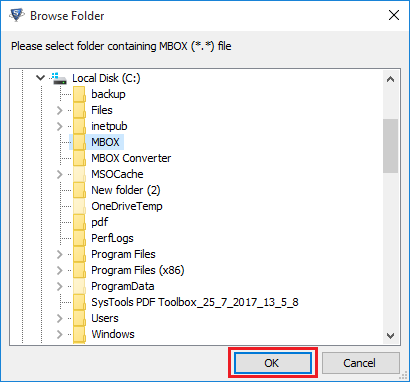
To add multiple files in bulk, use the Folder mode
Step 9
Simple choose the folder which contains the desired Thunderbird MBOX files, then click OK
Step 10
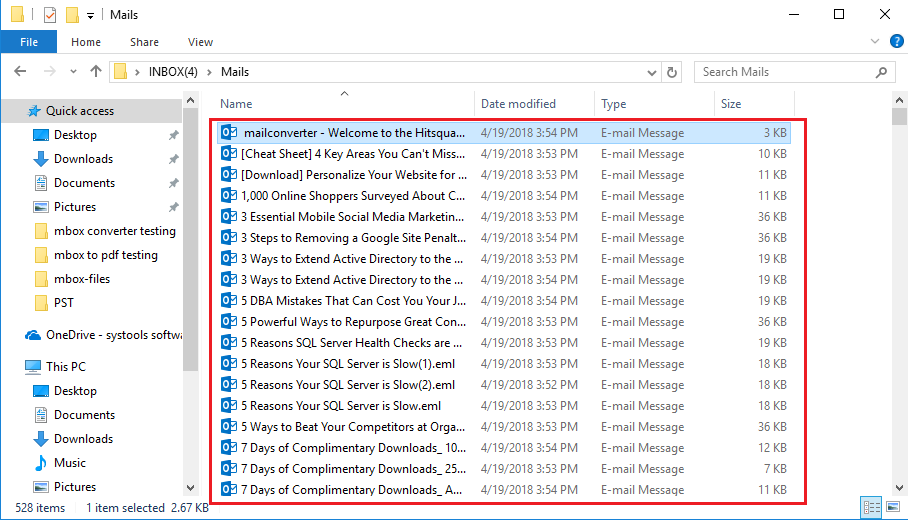
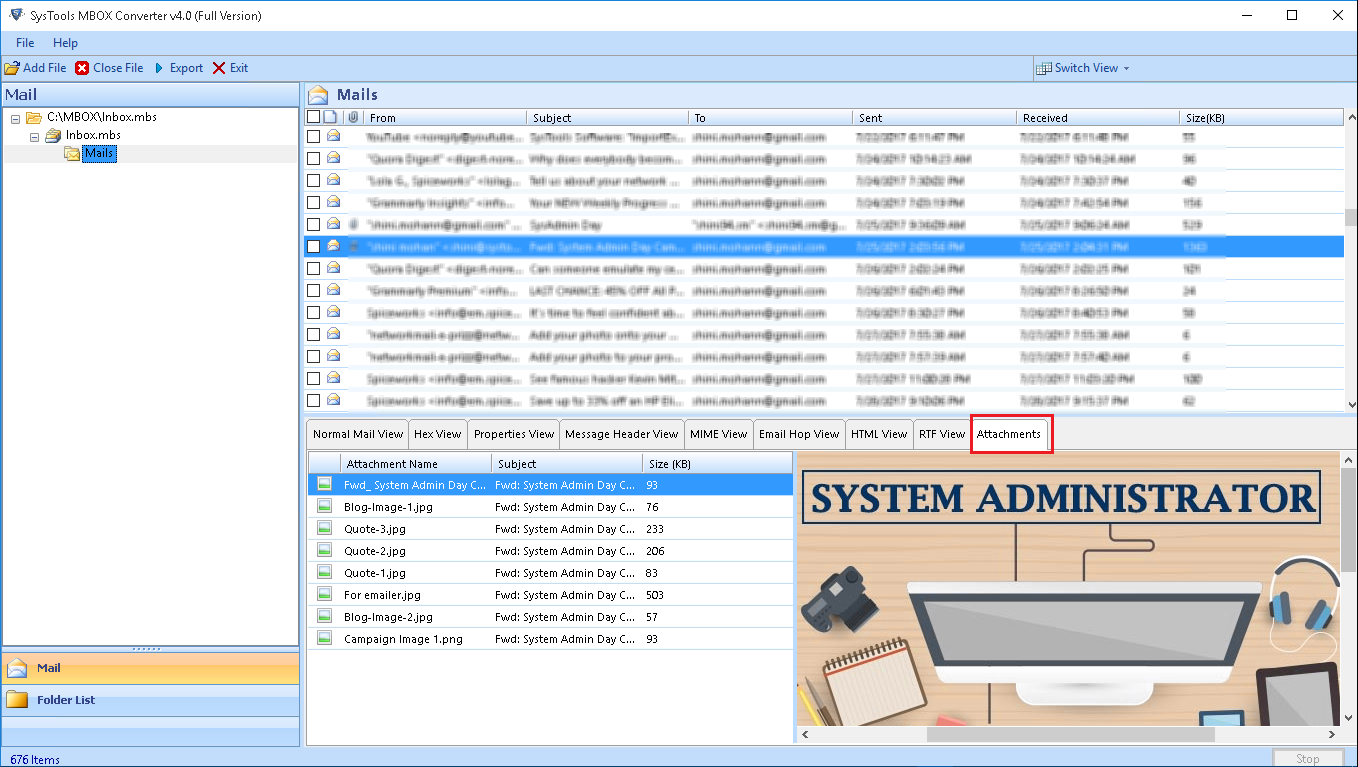
The software will load all the Thunderbird emails in the preview window. View them in eight different preview types

Step 11
To view your attachments, simply click on the Attachments section in the preview pane
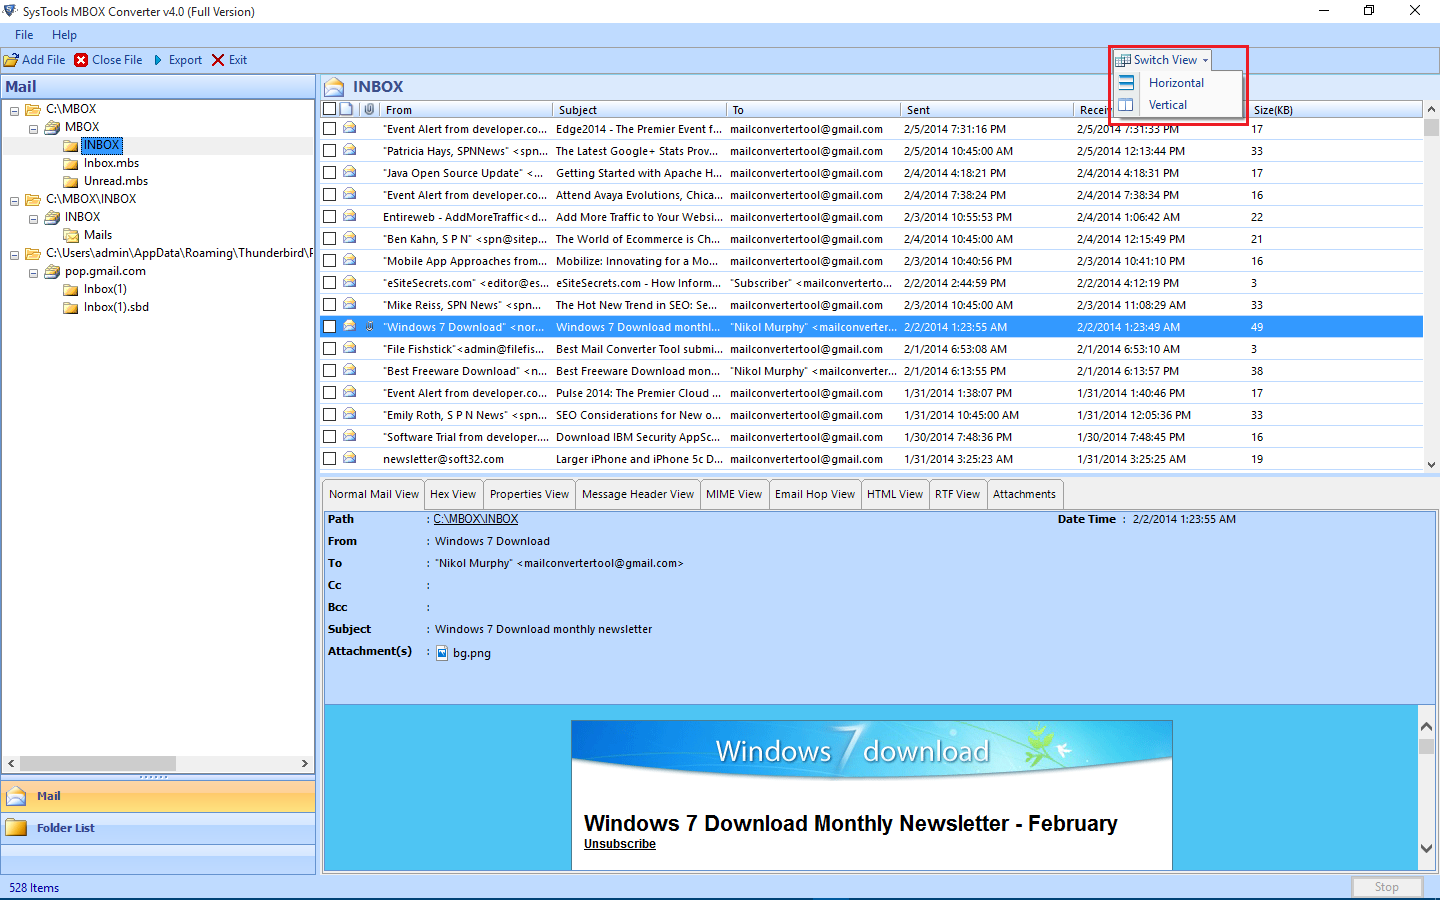
Step 12
The software also supports emails display in Horizontal and Vertical views
Step 13
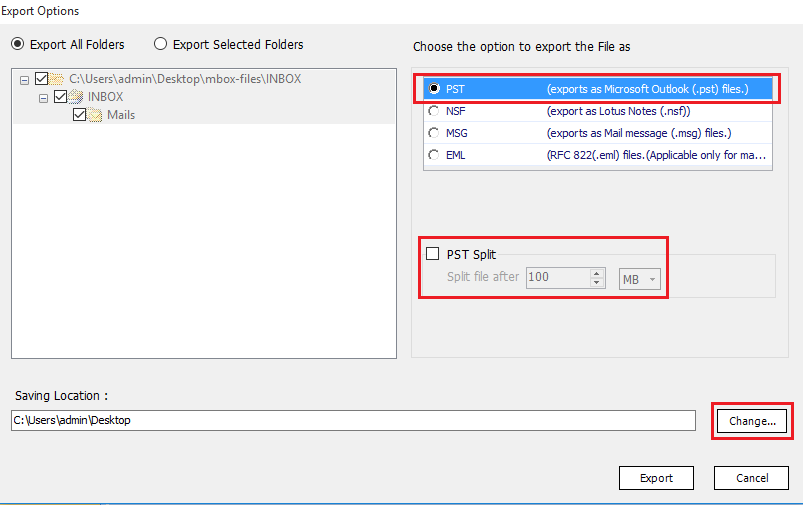
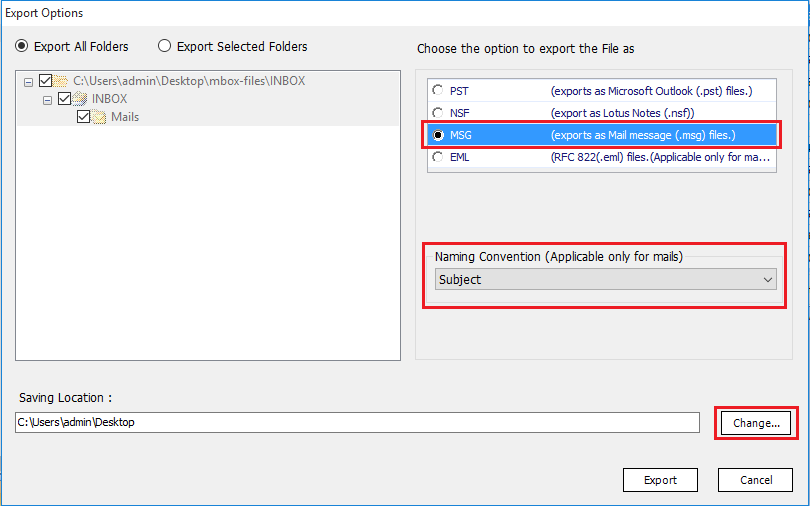
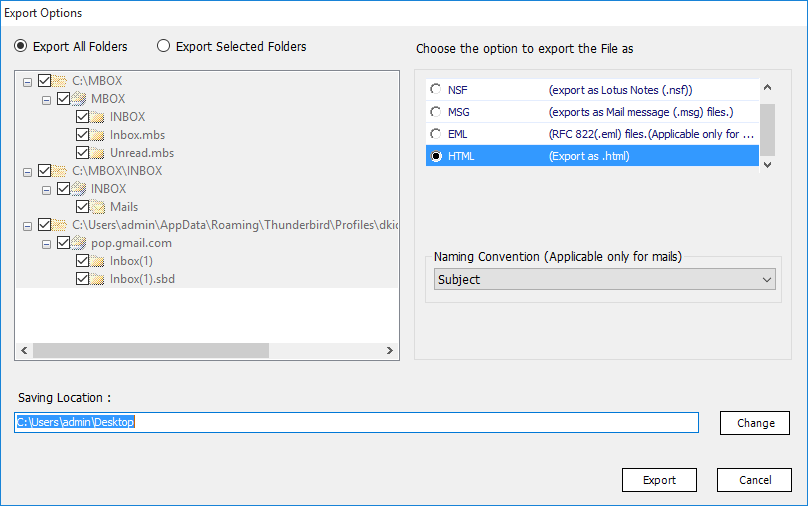
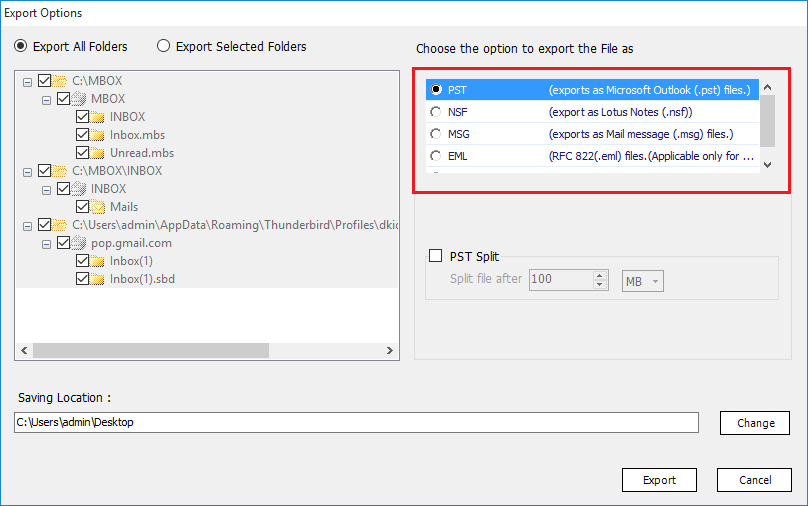
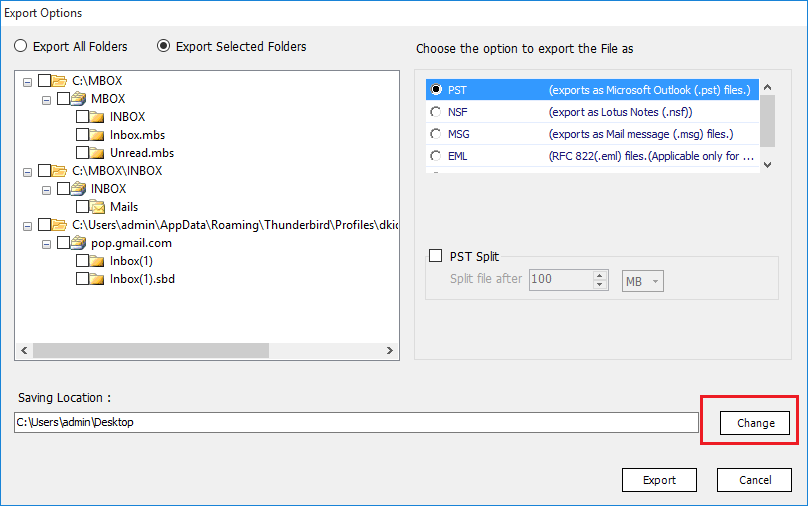
Selecting the Export button will give you two options
- Export All Folder: It will export all the added MBOX files
- Export Selected Folders: It will export only the selected folders

Step 14
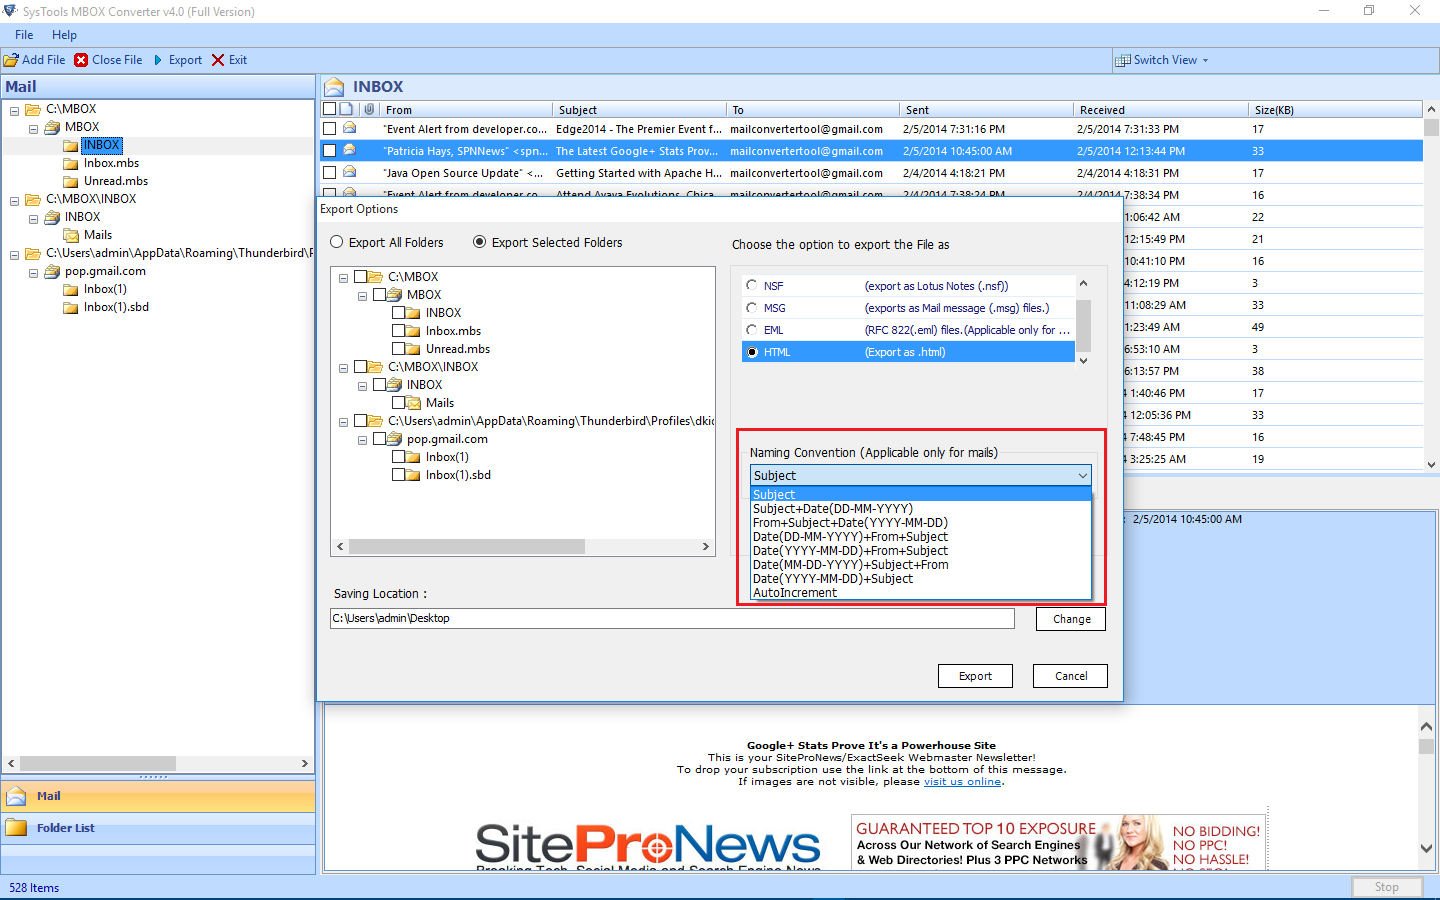
Choose from the multiple export formats provided by the software
Step 15
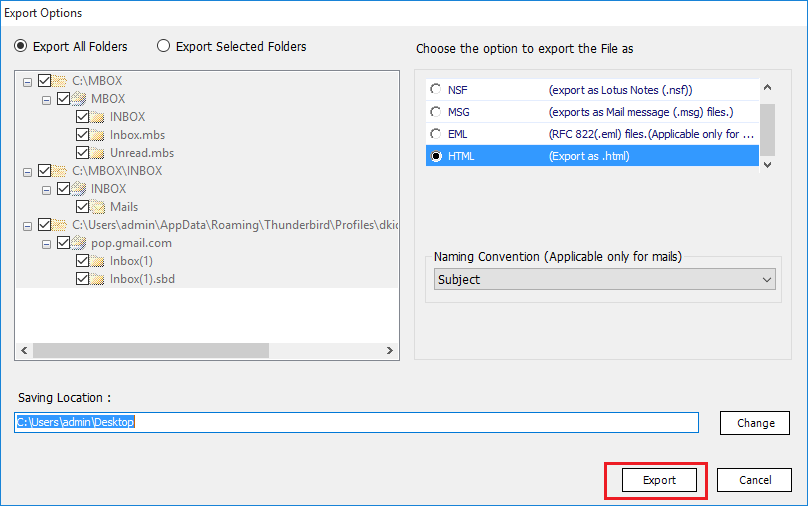
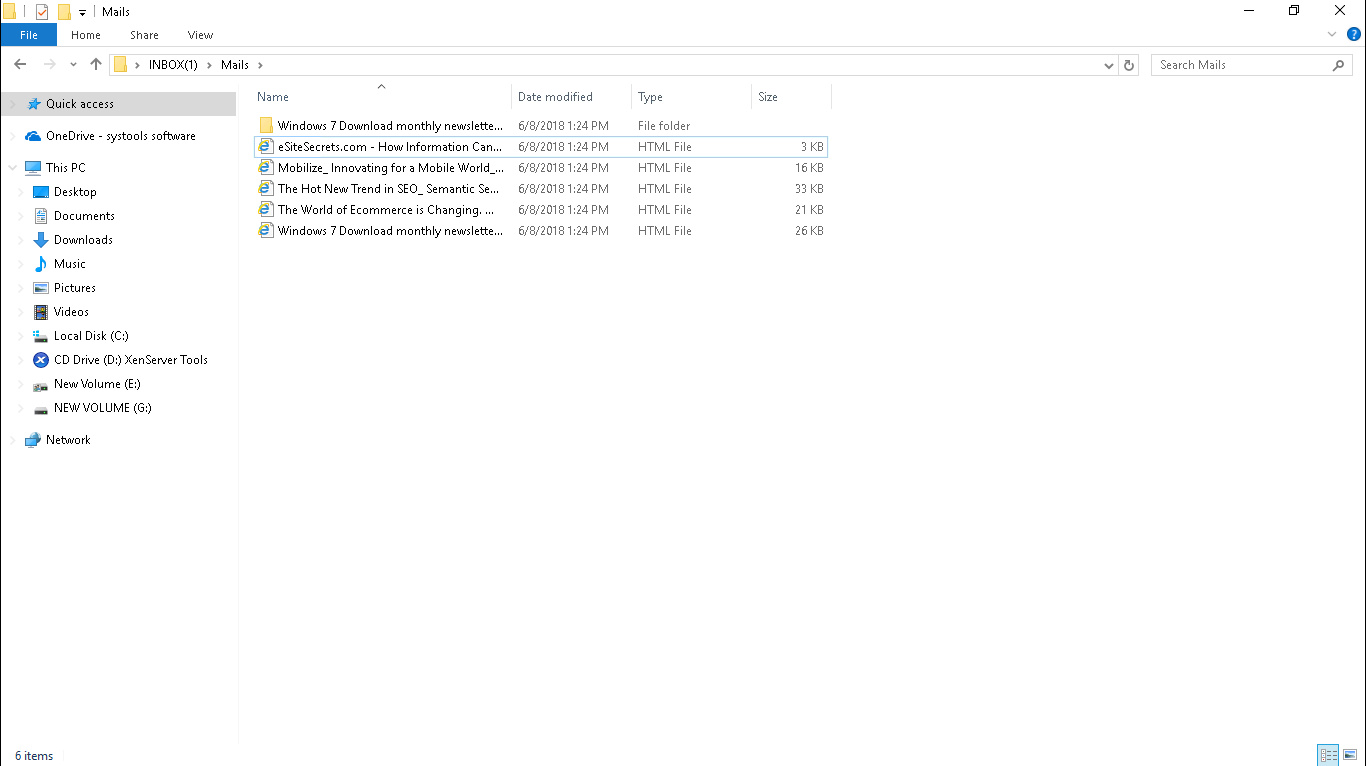
Also, choose your desired location to save the output files by clicking on "Change Location" button
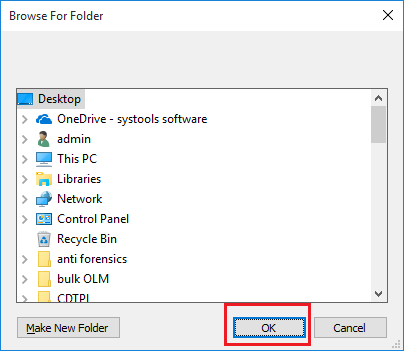
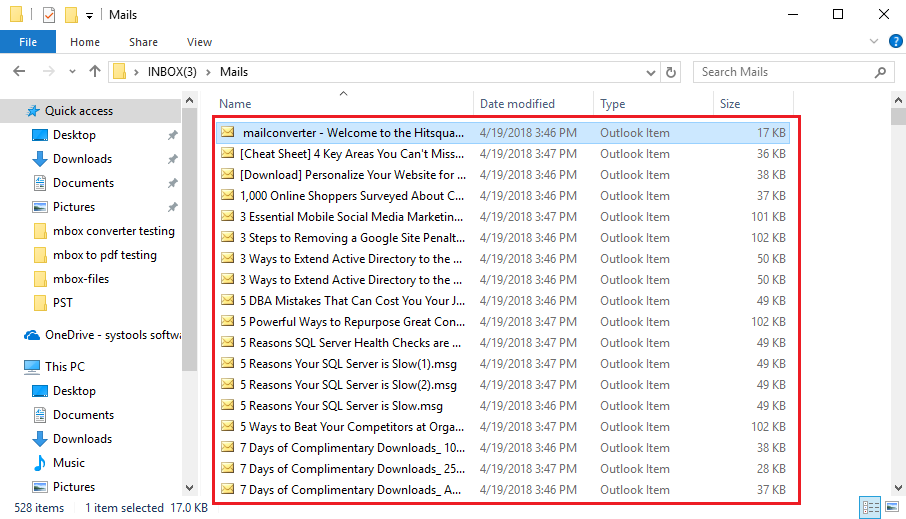
Step 16
Browse for the destination folder and click OK